Two-tone wall painting has re-emerged as a striking interior design technique that adds character and dimension to any space. This approach combines two distinct colours on a single wall, creating visual interest and allowing for creative expression in your home. Whether you're looking to refresh a tired room or embark on a complete design overhaul, mastering the art of two-tone wall painting can transform your space dramatically.
Planning your two-tone wall design
Before picking up a paintbrush, thorough planning is essential for achieving professional-looking results. Interior designer Kamerolli suggests that the key to successful two-tone walls lies in the preliminary design phase, where you visualise how the finished wall will complement your overall space. Taking time to consider the purpose of the room and its existing elements will help you create a cohesive look that enhances rather than overwhelms your space.
Choosing complementary colours for your space
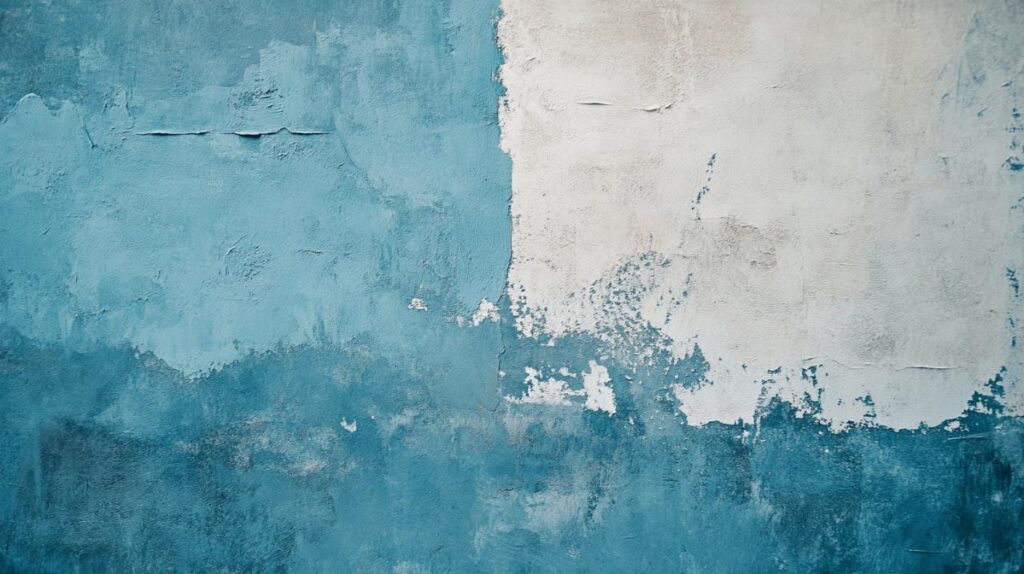
The colours you select will significantly impact the mood and feel of your room. Consider the existing colour scheme, furniture, and décor when making your selection. Many homeowners find success with pairing deep, rich tones like Valspar's ChimneySmoke navy with lighter neutrals such as ClayAngel taupe. This combination creates a beautiful contrast while maintaining harmony. Historical paint brands like Craig & Rose offer collections inspired by different periods, from Georgian to Modernist, providing authentic colour pairings if you're aiming for a period look.
Deciding on the Perfect Dividing Line Placement
The positioning of your dividing line dramatically affects the visual proportions of your room. Traditional approaches include placing the line at chair-rail height (approximately 90cm from the floor) or at two-thirds of the wall height for a more contemporary look. For smaller spaces like bathrooms, a higher division point can create the illusion of greater height. Measure carefully and use a level to mark your intended line, ensuring it remains consistent around the room.
Preparing your wall surface
Proper preparation forms the foundation of any successful painting project. Regardless of how premium your paint selection might be, applying it to an improperly prepared surface will result in a disappointing finish that reveals every underlying flaw.
Cleaning and repairing wall imperfections
Begin by thoroughly washing your walls with a mild detergent solution to remove dirt, grease, and other contaminants. Once dry, inspect the entire surface for cracks, holes, or uneven areas. Fill these imperfections with appropriate filler or spackle, allowing sufficient drying time before sanding smooth. This meticulous preparation is particularly important for two-tone walls, as the crisp dividing line will draw attention to any surface irregularities.
Applying the Right Undercoat for Two-Tone Success
A quality primer creates the optimal base for your paint colours, especially when working with dramatically different shades. The undercoat helps achieve true colour rendition and promotes even absorption across the wall surface. For significant colour changes or newly plastered walls, a dedicated primer is essential. Allow this layer to dry completely according to the manufacturer's instructions before proceeding to the next step.
Mastering the tape technique
The defining feature of a professional-looking two-tone wall is the crisp, clean line separating your colours. Achieving this requires precise taping technique and quality materials.
Selecting and applying quality decorator's tape
Invest in high-quality painter's tape specifically designed for creating clean lines. Budget alternatives often allow paint seepage or damage the underlying paint when removed. Apply the tape exactly along your measured line, pressing firmly along the entire length to ensure proper adhesion. Work in manageable sections, carefully overlapping the ends of tape pieces to create a continuous barrier.
Creating clean, sharp dividing lines
After applying your tape, run a plastic card or similar tool along the edge to ensure complete contact with the wall. This seemingly minor step significantly reduces the chance of paint bleeding under the tape. For corners and transitions, take extra care to maintain your level line, as even slight deviations become noticeable in the finished project.
Applying your first colour layer
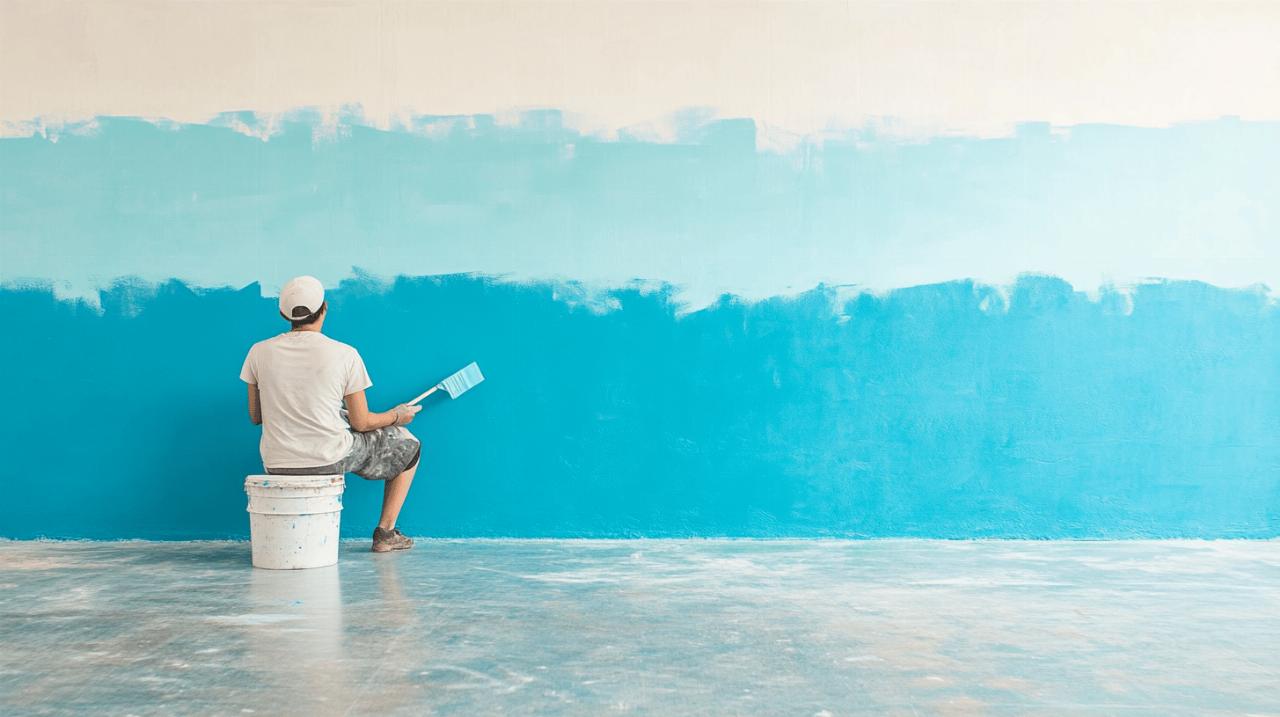
With preparation complete, you can begin applying paint. The conventional approach is to start with the lighter of your two colours, typically the lower portion of the wall in traditional two-tone designs.
Best practices for even coverage
Use appropriate tools for your paint type and wall texture. For most interior walls, a combination of a high-quality brush for cutting in along edges and a roller for larger areas works well. Apply paint in smooth, overlapping strokes, maintaining a wet edge to prevent visible seams. An eggshell sheen often provides an optimal balance of durability and appearance for two-tone walls, especially in high-traffic areas.
Drying times and second coat considerations
Allow your first coat to dry completely according to the manufacturer's instructions. This typically ranges from two to four hours, though factors like humidity and temperature can extend this time. Assess the coverage after the first coat has dried, looking for any thin spots or uneven areas. Most quality paints require two coats for optimal colour development and durability, particularly with deeper colours like navy.
The secret to sealing tape edges
 This crucial yet often overlooked step is what separates amateur from professional-looking results. It addresses the primary challenge of creating crisp lines in two-tone wall painting.
Why this step prevents colour bleeding
Even with quality painter's tape, microscopic gaps can exist between the tape and wall surface due to texture variations. The sealing technique creates a barrier that prevents your second colour from seeping beneath the tape edge. This simple trick is particularly important when using darker colours that would be very noticeable if they bled into a lighter section.
Application Techniques for a Perfect Seal
Once your first colour is completely dry, apply a thin layer of the same colour along the edge of the tape where it meets the painted surface. This creates a seal by filling any gaps under the tape with the same colour already on that section of wall. Allow this sealing coat to dry completely before proceeding to your second colour. This technique is especially valuable in budget renovations where achieving professional results without expensive equipment is essential.
Applying your second colour
With your tape line secured, you're ready to apply the second colour to complete your two-tone effect. This stage requires careful attention to maintain the crisp division between colours.
Working efficiently along the taped line
Begin by cutting in along the taped line with a high-quality brush. Work in sections of approximately one metre at a time, applying paint in smooth, controlled strokes. Avoid overloading your brush, as excess paint increases the risk of seepage under the tape. After cutting in, use your roller to fill the remaining area, working from the dry edge toward the newly painted section.
Managing paint consistency for uniform results
Maintain consistent paint thickness throughout application. If your paint begins to thicken during the project, resist the temptation to thin it excessively, as this can affect colour development and coverage. Instead, close your paint container when not in use and stir occasionally to maintain proper consistency. Apply second and subsequent coats as needed, allowing appropriate drying time between applications.
Removing tape like a professional
The moment of truth in any two-tone painting project comes when removing the tape to reveal your dividing line. This step requires careful timing and technique to preserve your crisp edge.
Timing your tape removal for best results
Remove the tape while your final coat is still slightly damp but not wet. This prevents the paint from forming a film that bridges the tape and wall, which could tear when the tape is removed. If you've missed this window and the paint has dried completely, score along the edge of the tape with a sharp utility knife before removal to prevent peeling.
The 45-degree angle technique explained
Pull the tape away from the wall at a 45-degree angle, moving slowly and steadily. This angle helps prevent the tape from pulling dried paint away from the wall. Work in small sections, maintaining consistent pressure and angle throughout the removal process. If you notice any resistance or lifting of the paint, stop immediately and score along that section before continuing.
Perfecting your two-tone finish
Even with meticulous preparation and application, minor touch-ups are often necessary to achieve a truly professional finish. This final stage refines your work and ensures longevity.
Touch-up techniques for minor imperfections
Inspect your dividing line in good lighting, looking for any spots where colours may have bled or where the line isn't perfectly straight. Keep small amounts of both colours available for touch-ups. For minor bleeding, use a small artist's brush to carefully apply the appropriate colour to correct the line. Allow these touch-ups to dry completely before evaluating the results.
Maintaining your two-tone walls long-term
Protect your finished walls by avoiding harsh cleaning agents that could affect the paint finish. For routine cleaning, use a soft cloth slightly dampened with mild soap and water, particularly around the dividing line where different colours meet. Touch up scuffs or marks promptly to maintain the crisp appearance of your two-tone effect. With proper care, your two-tone walls will remain a stunning feature in your home for years to come.